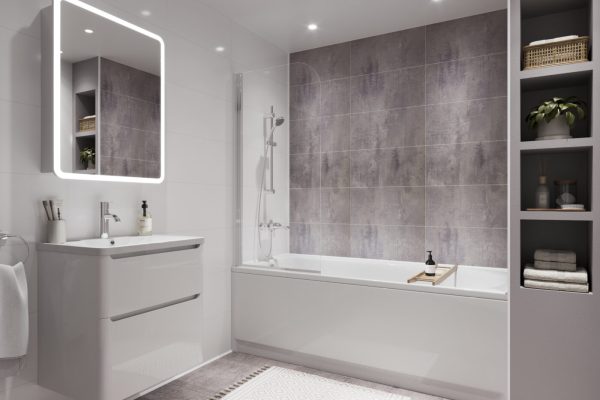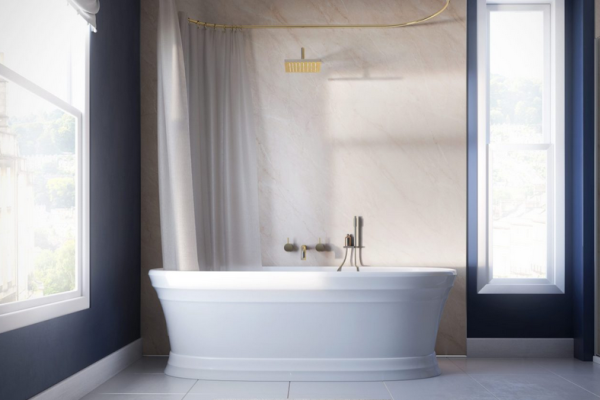
Good wall panel installations come down to preparation more than anything else. Get the wall right, measure properly, and the rest of the job tends to follow. Get those steps wrong, and no amount of careful cutting will fix it later. Whether you’re fitting your first job or your five-hundredth, these are the details worth getting right every time.
Installing Acrylic Panels Installing Laminate Panels
Start With the Wall, Not the Panel
Every wall panel installation begins with the surface underneath it. Panels are forgiving compared to tiles, but they aren’t magic. The wall still needs to be sound, dry, and reasonably flat before anything goes up.
Check for damp before you start. Panels create a waterproof barrier once fitted, but they won’t fix an existing moisture problem behind the wall. If there’s any sign of damp, deal with it first.
Remove anything loose, including old sealant, flaking paint, or crumbling plaster. The substrate needs to be stable enough to take fixings or adhesive without movement. On uneven walls, a quick check with a spirit level across a few points will tell you whether you’re dealing with a flat surface or one that needs battening out first.
One of the genuine advantages of panels over tiles is that most collections can be fitted directly over existing tiles, as long as they’re sound and flat. This saves a full day of stripping back in most bathrooms, but only works if the existing surface is actually in good condition. Loose or cracked tiles still need to come off.
Measure Twice, Cut Once Still Applies
It sounds obvious, but rushed measuring is the most common reason a job doesn’t look right at the end. Measure the full height and width of each wall at multiple points, not just once, since most bathroom walls are not perfectly square.
Account for skirting, coving, and any fittings that will sit against the panel, such as taps or shower valves, before you cut. It’s far easier to plan cuts around a fixed point than to try and adjust afterwards.
If you’re working with book-matched decors, measuring accuracy matters even more than usual. Because the pattern is designed to flow continuously from one panel to the next, panels need to go up in the correct order and orientation. Mixing up the sequence breaks the matched veining effect that makes these decors worth choosing in the first place. Check each panel for sequence markings before you start fixing anything.
Cutting Panels Cleanly
A clean cut makes the difference between a professional finish and one that looks like a DIY job. For laminate panels, cut the panel decorative side up using a fine-tooth blade this reduces chipping along the edge. If using a jigsaw or circular saw with upward cutting blades, panels should be cut decorative face down.
Acrylic wall panels need slightly different handling and fitting, they must be fitted with Showerwall translucent silicone sealant . Acrylic wall panels naturally flex during handling, so always handle them with care during installation. When cutting acrylic wall panels with a circular saw, cut with the decorative face down using a fine-tooth blade. When using a plunge saw, cut with the decorative face up. For service cut-outs, drill an 8 mm hole in each corner before cutting to help prevent cracking. Never cut sharp internal corners directly into acrylic panels.
Whatever the panel type, always dry-fit before applying adhesive/sealant. It takes a few extra minutes and saves a much longer afternoon if a cut doesn’t sit the way you expected.
Sealing Properly, Every Time
Sealing is where corners get cut, and it’s also where call-backs come from. Every panel join, edge, and corner that meets a bath, shower tray, or adjacent wall needs a proper bead of sanitary silicone, not just at the most visible joints.
Apply sealant in a continuous, even bead rather than patching gaps as you notice them. Tool the bead smooth before it skins over, and remove masking tape immediately after tooling for a sharp, clean line.
Give sealant the time it needs to cure before the bathroom is used. Rushing this step is one of the most common reasons a perfectly good installation starts to fail within the first few months.
Getting a Professional Finish First Time
A few habits separate a clean, professional-looking job from one that’s merely adequate.
Work from a fixed reference line, usually a level horizontal mark, rather than working up from a potentially uneven floor. This keeps everything square even if the room itself isn’t.
Keep adhesive coverage even across the back of the panel rather than concentrated at the edges. Uneven adhesive is one of the more common causes of slight bowing once a panel has been fitted for a few weeks.
Leave the manufacturer’s recommended expansion gap around the perimeter of each panel. Panels expand and contract slightly with temperature and humidity changes in a bathroom, and a tight fit with no allowance for movement is a common cause of joints opening up later.
For a full step-by-step breakdown, including specific guidance for each collection, Showerwall’s installation guide covers the process from wall preparation through to final sealing.
The Payoff of Getting It Right
The appeal of wall panel installations, for both installer and homeowner, is that there’s no grout to maintain once the job is finished. That only holds true if the installation itself is done properly. A panel fitted with the right prep, accurate measuring, and a proper seal will look as good in ten years as it did on day one. One fitted in a hurry will show every shortcut within the first winter.
Take the extra time at the preparation and measuring stage. It’s the part of the job that doesn’t show in the finished photos, but it’s the reason the finished photos look good at all.