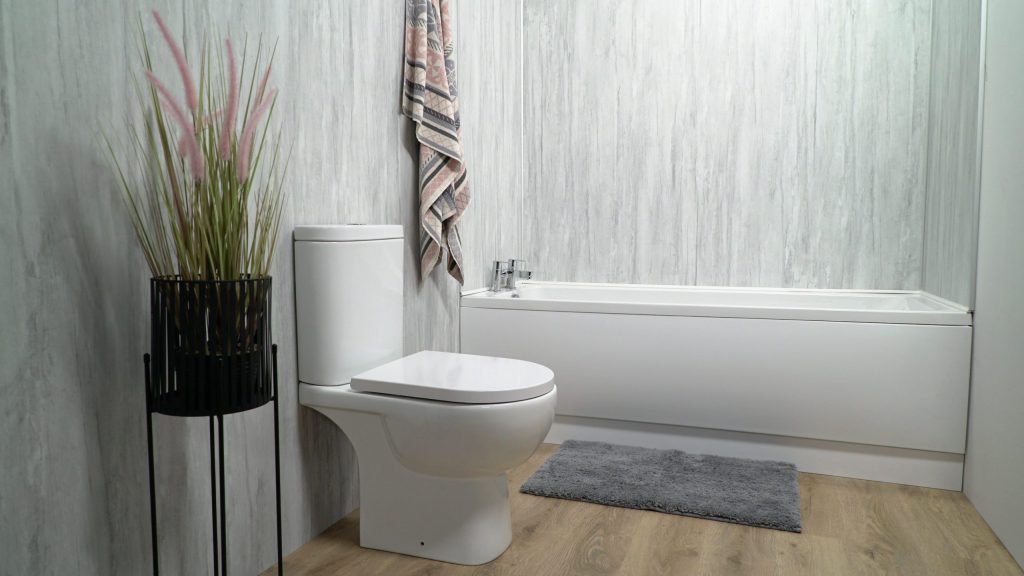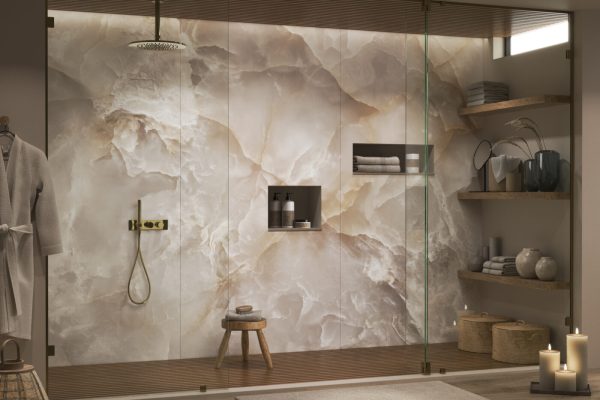
Quick and easy to fit, wall panelling can create a stylish look in shower enclosures or over baths without the time and hassle of tiling. If you’re looking to create bathroom feature walls, Showerwall offers over 80, which can create a visually striking finish. Watertight and hard-wearing wall panelling can create a seamless look with no grouting required. It’s simple to fit and clean, making it perfect for panelling around the bath.
Check out this simple guide to fitting Showerwall’s HPL Proclick around the bath:
You Will Need
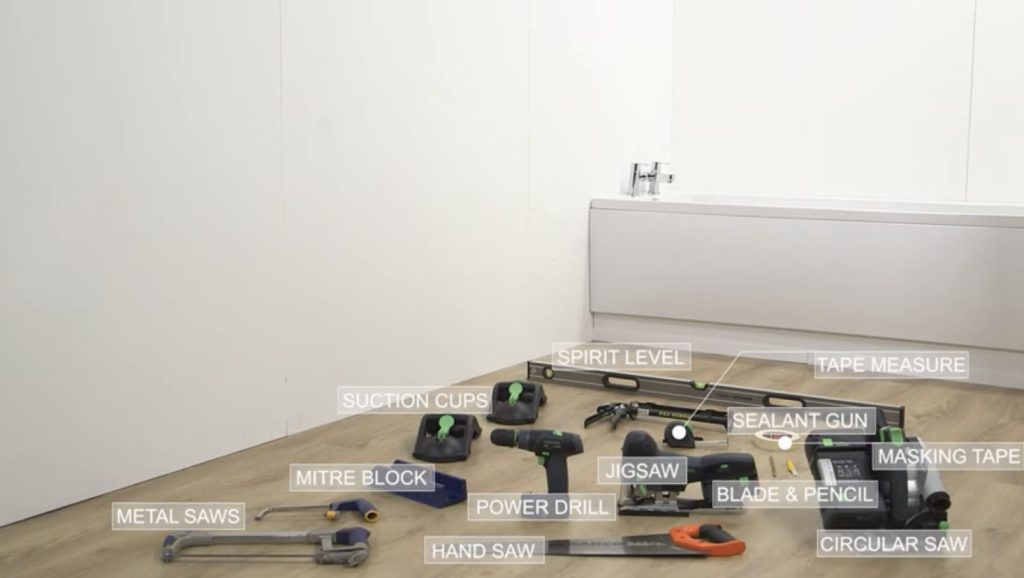
- a 1200mm and 600mm Proclick panel
- Showerwall Sureseal
- a tape measure
- 1200mm spirit level
- sealant gun
- suction cups
- masking tape
- blade and pencil
- jigsaw
- power drill
- hand saw
- circular saw
- mitre block
- metal saws
- ear protection is also recommended.
Step 1 – Prepare your walls
The wall panels can be fixed to an existing wall or directly over tiles, providing the surface is flat. It is essential that the walls are completely dry, clean and free from dust. If the walls are not flat, then treated battens must be used to install the panels.
Step 2 – Check your work area
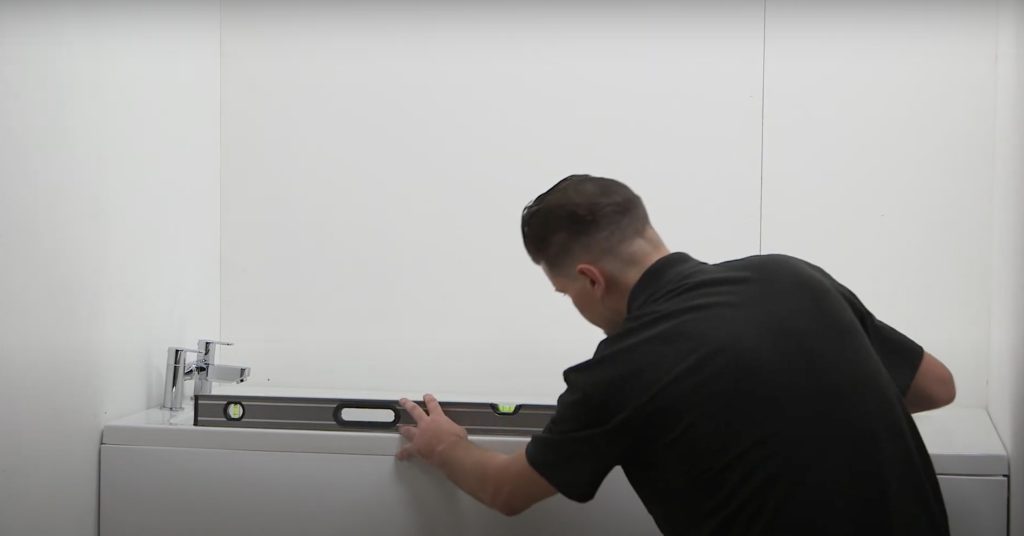
Before undertaking the installation, check the level of your bath and walls with your spirit level, and then measure the length and width of your bath for the Sureseal strips.
Step 3 – Measure and cut panels to size
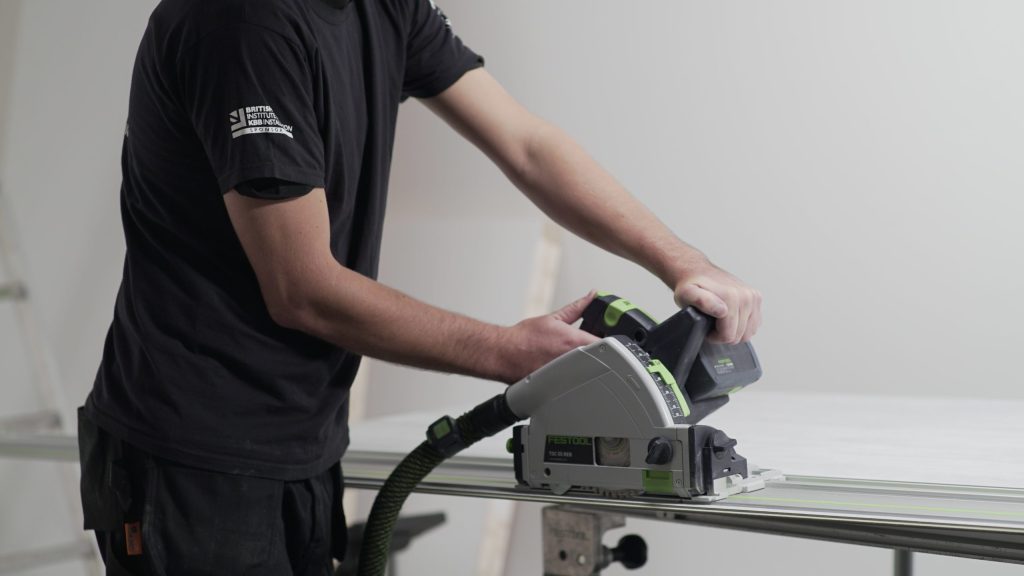
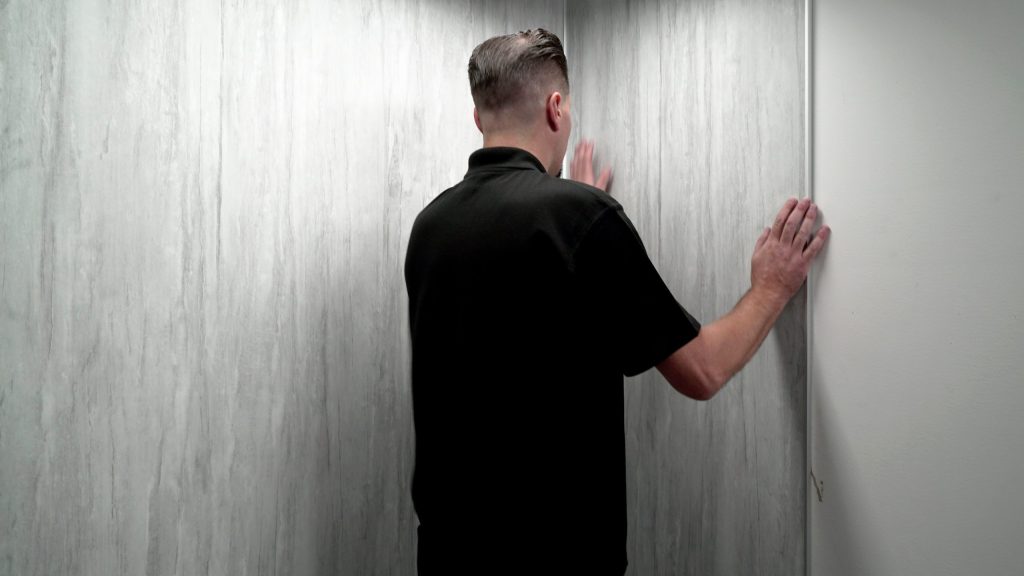
Showerwall panels will often require cutting before installation. Ensure that the cutting line is measured and marked before any alterations are made, taking measurements for the height and width of the panel, measuring from Nib A to the ceiling. Remove the protective film from the panel. Then mark and cut the Showerwall panel to the correct height and width with a hand saw, circular saw or jigsaw, décor side up to avoid chipping. Ensure any holes for pipes or showerheads are made at this point.
Step 4 – Fix the trims and first panel
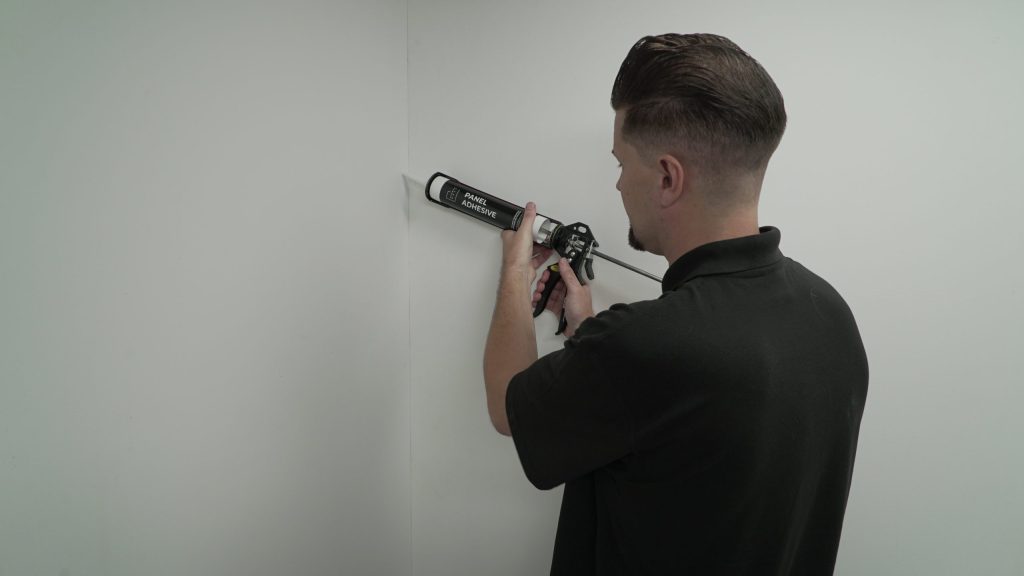
Fix the internal corner trim to the wall using Showerwall Sureseal. Measure the width of the wall, allowing 15mm for the corner of the trim and cut the width accordingly. Next, fit the end cap to the panel using the sealant.
Apply sealant to the Sureseal strip and corner trim, and apply 6mm beads of adhesive to the walls in zig-zag lines.
To fix the first panel, ensure the bottom edge drops fully into the base channel and slide it into the internal corner trim profile. Remove excess sealant from the front edge of the Sureseal strip, using the Showerwall sealant profiler.
Step 5 – Fix panels two and three
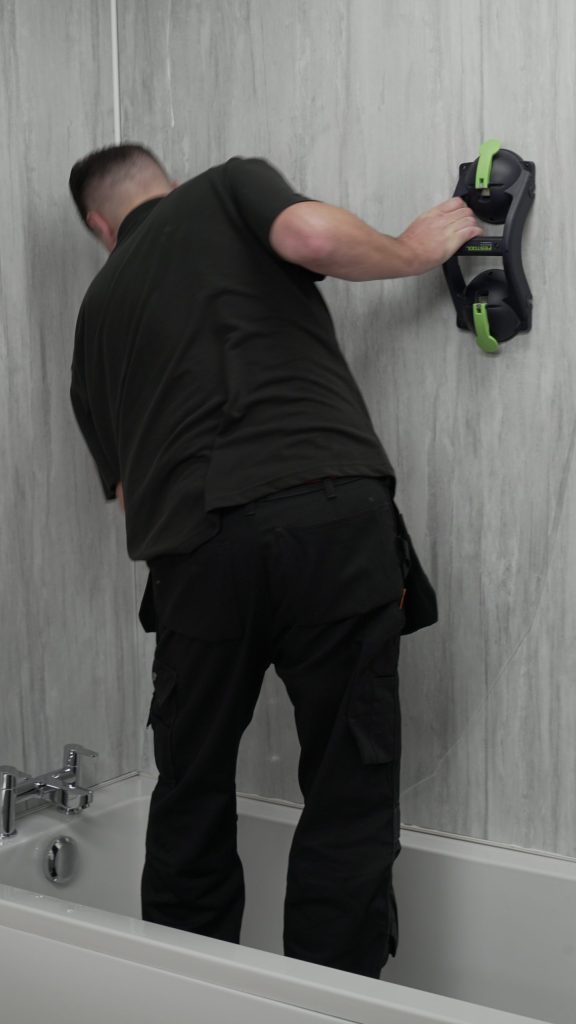
Cut the second panel, removing the tongue edge to fit into the trim. Then cut to size and repeat the sealant and adhesive instructions from the first panel. You can use suction cups if required to fit your second panel.
Ensure the panel is slid neatly into the corner trim and then fixed to the wall.
For the third panel, measure from the second panel edge to the wall, remembering to remove the 15mm for the corner trim. When cutting panel three, ensure the measurement is taken from the panel edge and not the tongue profile. Fix the corner trim to the cut panel edge using sealant. Apply a small bead of sealant to the shoulder of the tongue edge and then locate the tongue edge into the groove edge of panel two at a shallow angle to the wall.
Finally rotate the panel towards the wall, making sure the tongue is sitting correctly in the groove and then fix to the wall, removing any excess sealant. The corner trim is now in place.
Step 6 – Fit the final panel
Attach the end cap using sealant. Apply sealant and adhesive to the wall and seal as before. Next, locate panel four neatly into the corner trim before fixing to the wall.
Finally, seal the expansion gap at the ceiling edge to ensure it is watertight. Fill any holes made for pipes or showerheads with sealant, before sealing around the fixtures and fittings. Leave for 24 hours for the sealant and adhesive to set, and it is ready to use.
Once complete you will have a hard-wearing watertight system with a 15 year customer guarantee.